Travaillons avec le slidingdrawer
Avant de
commence cet atelier, un éclaircissement est requis pour mieux utiliser le slidingdrawer.
Un Slidingdrawer
est un widget spécial qui fonctionne comme un terroir, il cache un contenu de l'écran
principal et il permet à l'utilisateur de faire glisser une poignée pour l’afficher.
Un Slidingdrawer peut être utilisé verticalement, horizontalement, droit ou
gauche.
Le widget dispose
deux points de vue différents : le poigné et le contenu comme figuré
Ci-dessous :

Pour la
démonstration de cet atelier, nous avons besoin à créer une seule activité avec
un slidingdrawer associé à un contenu divers (image, texte, etc.).
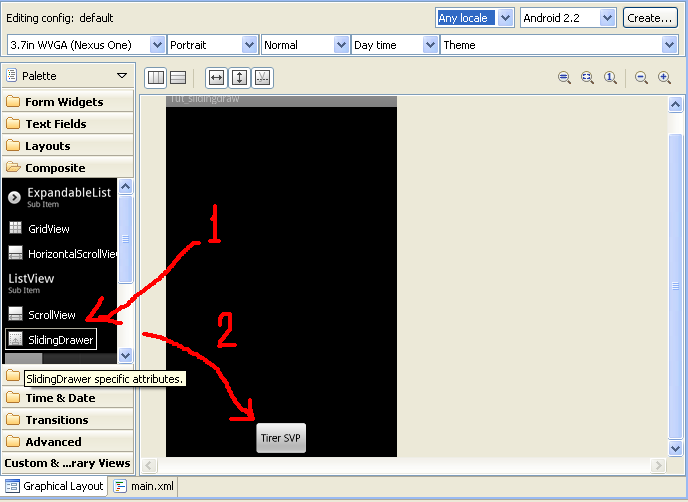
Nous débutons
par la mise en forme la présentation graphique du fichier main.xml sous format
graphique comme suit :
Par la
suite, nous agençons le contenu de slidingdrawer avec le code suivant :
<?xml version="1.0" encoding="utf-8"?>
<LinearLayout xmlns:android="http://schemas.android.com/apk/res/android"
android:layout_width="fill_parent"
android:layout_height="fill_parent"
android:orientation="horizontal"
>
<SlidingDrawer
android:id="@+id/slidingDrawer1"
android:layout_width="match_parent"
android:layout_height="match_parent"
android:content="@+id/content"
android:handle="@+id/handle"
android:orientation="vertical">
<Button
android:id="@+id/handle"
android:layout_width="wrap_content"
android:layout_height="wrap_content"
android:text="Tirer
SVP" />
<LinearLayout
android:id="@+id/content"
android:layout_width="match_parent"
android:layout_height="359dp"
android:orientation="vertical"
>
<ImageView
android:id="@+id/imageView2"
android:layout_width="match_parent"
android:layout_height="wrap_content"
android:src="@drawable/fes"
/>
<Button
android:id="@+id/b1"
android:layout_width="wrap_content"
android:layout_height="wrap_content"
android:text="Demo"
/>
<ImageView
android:id="@+id/imageView1"
android:layout_width="match_parent"
android:layout_height="wrap_content"
android:src="@drawable/casablanca"
/>
<ImageView
android:id="@+id/imageView3"
android:layout_width="match_parent"
android:layout_height="wrap_content"
android:src="@drawable/merrakech"
/>
</LinearLayout>
</SlidingDrawer>
</LinearLayout>
Dans
ce code nous avons ajouté trois image et un bouton pour la demoanstration.
Après le
fichier de présentation, nous proposons le fichier java simple associé à notre présentation :
package com.formation.slidingDraw;
import android.app.Activity;
import android.os.Bundle;
public class Main extends Activity
{
/** Called when the activity is first created. */
@Override
public void onCreate(Bundle
savedInstanceState) {
super.onCreate(savedInstanceState);
setContentView(R.layout.main);
}
}
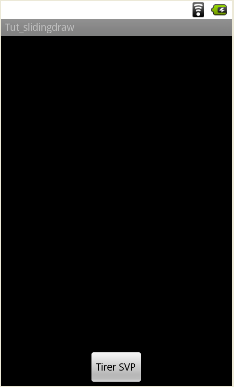
Voila, notre
application est complète, il nous reste à voir les fruits de notre travail par
son exécution sur l’émulateur.
Vous pouvez
télécharger le code source de cet atelier en cliquant ici.
Aucun commentaire:
Enregistrer un commentaire